Wednesday, December 28, 2011

Post Holiday Soup


My favorite things to cook usually don't require specialty ingredients or an extra trip to the grocery store. In-fact, Mr. RC Homestead has thought that I should create a cookbook combining all the ridiculous stuff in our cupboards... as I often do in a pinch.

BUT, I figure this is how most folks cook, so what's the big deal there :)

Anyhow, true to my mod-podge cooking style, I assembled the holiday leftovers for a cozy soup and I thought you may enjoy.

We hosted Christmas Eve for the first time at the Rubber City Homestead this year. Consistent with blended families everywhere, we are working to ... 'blend' well. Working would be the key word. All the kinks are not yet worked out, but we are making steady progress.

In the morning, we hosted a brunch with one-half of the family. This was a smaller gathering, but the menu covered all the bases:

Christmas Eve Brunch Menu

  • Bacon
  • Sausage patties
  • Scrambled eggs
  • Waffles
  • Mimosas
  • Coffee
The brunch was a success and while we may not host Christmas Eve brunch every year, I think we stumbled across a couple of things that we would like to turn into regular traditions!


*Grandpa RC Homestead reading the Christmas story to baby Gremlin

I believe in making the most out of leftovers, so we sorted out the goodies in the afternoon. The homestead PUP was thrilled, as he was given the leftover scrambled eggs. I tossed the sausage patties in the fridge for later and chopped the bacon for a nice addition to the evening meal with the other half of the family.

Christmas Eve Super Easy Dinner Menu
  • Corn Bake
  • Mashed Taters
  • Honeybaked Ham (courtesy of Mr. RC Homestead's employer - thank you!)
  • Lawson's Chip dip
  • Pretzel sticks
  • Peanuts from the Peanut Shoppe
  • Variety of baked and received Christmas cookies (thank you, sweet neighbors!)
Really all I had to MAKE was the corn bake and the mashed taters, what could be easier?!?!

The corn bake was simple: open the cans, stir, pop it in the oven. Meanwhile, I chopped and boiled the taters. While blending the mashed potatoes, I tossed in the bacon bits and a crazy idea hit me... why don't I toss this in a 9 x 13 and bake it a bit, too. I added a scoop of sour cream, some parsley, salt, pepper and a bit of chive, topped with cheddar cheese and off to the oven it went.

Fast forward two days...

The cookies are almost gone, and we are ready for something new to munch on, but I hate to throw away leftovers.

Time for SOUP to save the day!

I took the remaining corn bake, remaining tater bake, added some boiling water, a bit of chicken bullion, some carrots and celery... tada! Soup du jour!!!

Pair with a sandwich, or eat it up solo, this was a yummy treat!

Stay cozy,

--The Rubber City Homestead

Tuesday, December 27, 2011

Finally Snowing!

It is
      
    F*I*N*A*L*L*Y

          ****SNOWING*** !!!!!

Cake Bite Christmas Tree


I am thrilled to share a new combination craft and edible wonder! This particular goodie pairs for a fine treat AND hostess gift!


If my fingers were faster, this would have been published prior to the Christmas holiday. For any of you who celebrate closer to New Year's, you still have time to pop it together.


If your holiday festivities have already passed, perhaps file it away for the 2012 round of holiday fun.


To begin you will need a few supplies.


For the tree:
  • Foam cone form
  • One 8 x 11 piece of felt
  • Garland
  • Hot Glue Gun
  • Sparkly paper
  • Glitter
  • 6" of wire
For the cake bites:
  • Cake mix and all that it requires
  • One 'tub' of icing (Betty Crocker, or the like)
  • Candy makers' sticks
  • Chocolate wafers
  • Sprinkles
*A special thank you to my fine friend, Lauren for the cake bite instructions*

1.  Start by whipping up your cake mix and baking it per the instructions on the box. Forever a fan of all things chocolate, I opted for a chocolate fudge cake... yum    


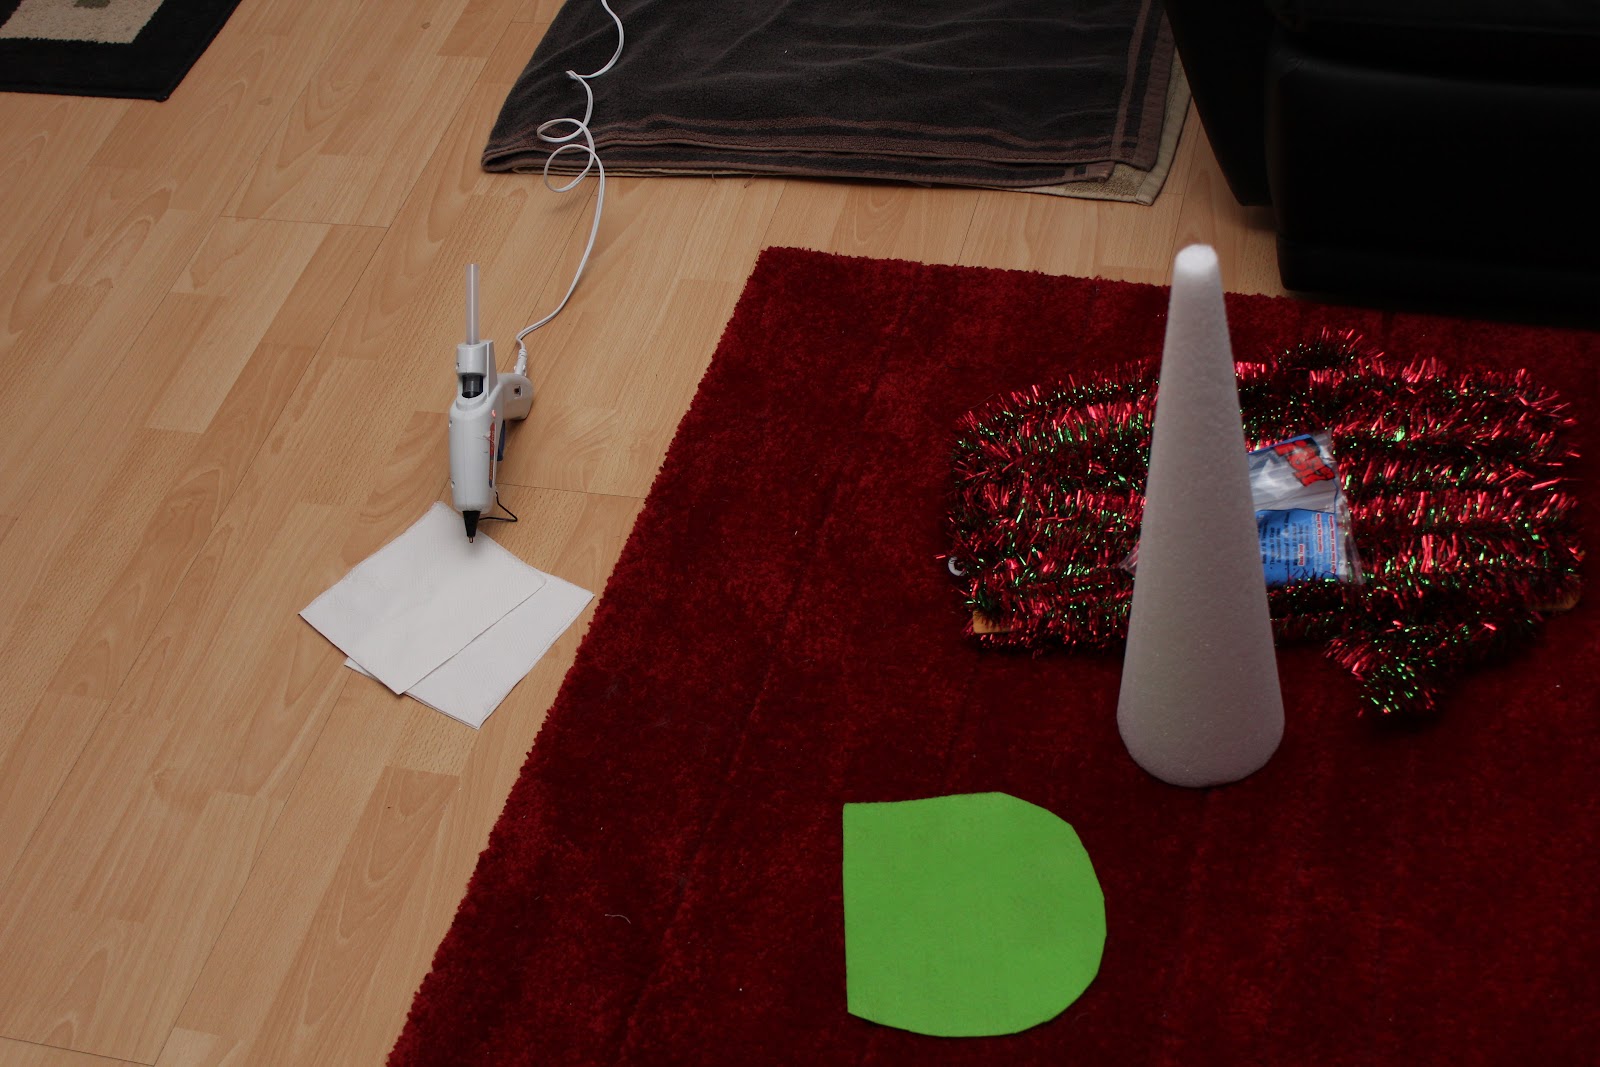
2.  While the cake is baking, grab your foam cone, felt, garland and glue gun.


3.  Plug in your glue gun, get that cooking


4.  Cut a rough circle out of your felt, approx 1" larger around than the base of your foam cone, glue this to the bottom of the foam shape                        


5.  Cut at an angle from the outside of the felt circle toward the foam, every 2 - 3"


6.  Now make cuts the opposite direction, forming triangles around the base of the foam form


7.  Glue the triangles to the cone,  now you have a tidy little tree base


8.  Starting at the bottom, begin applying small amounts of hot glue and tightly wrap the garland around the tree


9.  Continue around and around the tree form until you reach the top


10.  Don't forget to check on your cake, it should be about done by now


11.  Pull it from the oven when it is done, let it cool


12.  Once cooled, crumble the cake right in the baking dish


13.  Dump 3/4 of the icing tub onto the crumbled cake, mix with your hands. If the cake does not hold together when you put some in your palm and squeeze together, add the remaining 1/4 tub of icing.


14.  Pop cooled baking dish with cake/icing combo into the fridgerator for at least 2hours.


15.  Now you can make the star for your tree. Cut a pair of stars from your sparkly paper, run a line of glue around the edge, drizzle with glitter


16.  Take your 6" of wire, twist so that you can tape to the inside of the star and wrap at the very top of the tree


17.Once cooled, pull your cake blend from the fridge, with the help of a melon baller (or not), roll the cake into 1" balls and place a candy stick into each one, place in a freezer-friendly sized dish. When the cake is all 'balled' pop the dish into the freezer to add a bit of firmness to your creation. Freeze as long as you can. I have heard that 30 min is good, 2 hours is better...


18. Back to your star. The glue and glitter should now have dried. Tape the wire inside one of the stars, glue them together.


19.  Aaaannnddd back to the cake balls... Using a double broiler or the microwave, melt your chocolate


20.  Pull the cake balls from the freezer, dip into the chocolate

21.  Decorate with sprinkles or drizzled chocolate


22.  Let set


23.  Once fully set, plug the cake bite pops into the tree as ornaments :)


24.  Share with the hostess with the mostess or your amazing sister-in-law... or both if she happens to be my sister-in-law!

Hope you and yours had a wonderful Christmas!

--The Rubber City Homestead